It’s not easy training your body out of bad habits. Whether that’s having a poor diet or slacking off at the gym, or ignoring it altogether, much of it comes down to mindset. Personal development is a trend that’s galvanized many of us to shake off bad habits and transform ourselves into new and better people.
But invoking serious change begins with measuring your progress to determine whether the two steps you’ve made have taken you closer or further away from your goal. Without any forms of measurement, the journey can become rudderless.
Helping to keep you on the right track is ABettaMe – a healthy lifestyle app that allows you to measure different variables to see how far you’ve progressed with your goals. Through this application, you can experiment with different diets and exercises to see what impact they have on your health.
Redis was leveraged to streamline data transmission between components and to create an application that was highly responsive to the user’s commands. Let’s take a look at how this application was put together.
But before we go any further, we’d like to point out that you can discover a variety of innovative applications just like ABettaMe on the Redis Launchpad.
So make sure to check them out after this post!
You’ll build an application that will help users make important lifestyle changes by allowing them to measure progress in granular detail. Below we’ll show you how to bring this application to life by walking you through each stage of the implementation process, along with the components you’ll need.
Ready to get started?
Ok, let’s dive straight in.
This project is composed of five different components. In each section, we’ll highlight all of the different technologies and tools required to build the application.
Google Protocol Buffers: used as Google’s language-neutral, platform-neutral extensible mechanism for serializing structured data.
git clone: https://github.com/redis-developer/abetta-ux
Open the docker-compose file that specifies the various services required to build this application:
version: '3.8'
services:
  abetta-xp:
    container_name: abetta-xp
    image: abettame/abetta-xp:local
  abetta-gateway:
    container_name: abetta-gateway
    image: abettame/abetta-gateway:local
    ports:
      - 8080:8080
  abetta-rec:
    container_name: abetta-rec
    image: abettame/abetta-rec:local
  abetta-portal:
    container_name: abetta-portal
    image: abettame/abetta-portal:local
    ports:
      - 3000:3000
Use the following command to start the docker:
docker-compose up -d
docker-compose ps
NAME                COMMAND                  SERVICE             STATUS              PORTS
abetta-gateway      "sh -c 'java -Dserve…"   abetta-gateway      running             0.0.0.0:8080->8080/tcp
abetta-portal       "docker-entrypoint.s…"   abetta-portal       running             0.0.0.0:3000->3000/tcp
abetta-rec          "/bin/sh -c 'ASPNETC…"   abetta-rec          running
abetta-xp           "sh -c 'java -Dserve…"   abetta-xp           running
ajeetraina@Ajeets-MacBook-Pro abetta-ux %
Next, open a browser and enter the following link: http://localhost:8080/


Let’s deep dive into each of the modules that build this application.
UI interface to manage existing experiments, or record new ones.
Technologies used: TypeScript, React
The below Dockerfile is used to build UX Docker image –
# pull official base image
FROM node:13.12.0-alpine

# set working directory
WORKDIR /app

# add `/app/node_modules/.bin` to $PATH
ENV PATH /app/node_modules/.bin:$PATH

# install app dependencies
COPY package.json ./
COPY package-lock.json ./
RUN npm install --silent
RUN npm install react-scripts@3.4.1 -g --silent

# add app
COPY . ./

# start app
CMD ["npm", "start"]
Application gateway that routes traffic to appropriate downstream services.
Technologies used: Java, Spring Cloud GatewayRepo link: abetta-gateway
FROM maven:3-jdk-11

ADD . /abetta-gateway
WORKDIR /abetta-gateway

RUN ls -l
RUN mvn clean install -DskipTests

FROM openjdk:11.0-jre-slim

VOLUME /tmp
COPY --from=0 /abetta-gateway/target/abetta-gateway*.jar app.jar

CMD [ "sh", "-c", "java -Dserver.port=$PORT -Xmx300m -Xss512k -XX:CICompilerCount=2 -Dfile.encoding=UTF-8 -XX:+UseContainerSupport -Djava.security.egd=file:/dev/./urandom -Dspring.profiles.active=heroku -jar /app.jar" ]
File: https://github.com/ABettaMe/abetta-gateway/blob/main/build-image.sh
The build-image.sh script is used to build AbettaMe gateway.
mvn clean package
docker build -t abettame/abetta-gateway:latest .
docker push abettame/abetta-gateway:latest
Recommendation service that analyses experiments & performs statistical significance testing.
Technologies used: C#, .NET 5, RedisJSON, Redis Pub/Sub
Repo link: abetta-rec
FROM mcr.microsoft.com/dotnet/sdk:5.0 AS buildWORKDIR /DockerSource
COPY Recommendations/bin/Release/net5.0/. .
# For local uncomment this and comment line 8# ENTRYPOINT ["dotnet", "Recommendations.dll"]CMD ASPNETCORE_URLS=http://*:$PORT dotnet Recommendations.dll
File: https://github.com/ABettaMe/abetta-rec/blob/main/heroku-release.sh
docker build -t abetta-rec .heroku container:push -a abetta-rec webheroku container:release -a abetta-rec web
Repository holding all contracts shared between different services.
Technologies used: Google Protocol Buffers
Repo link: abetta-contract
File: https://github.com/ABettaMe/abetta-contract/blob/main/build.sh
mkdir java-out csharp-out
protoc --proto_path=. \       --java_out=./java-out \   --csharp_out=./csharp-out \       *.proto
This is one of the most important aspects of the application, where you’re able to test new things and see the impact of what different changes are having on your life. First, click on the ‘Create new experiment’ icon on the dashboard.
You’ll then need to fill out some information about your experiment in the given fields, including:
Treatment: Insert information on what tactics you’ll follow to execute your strategy.

On the dashboard, you’ll see an overview of your experiment. Click on ‘Add metric’ to log your latest results. You’ll then be taken to a new page where you’ll have a number of fields to fill in, including date, metric, and value (see below).
On the left-hand side of the screen, you’ll see the different experiments you have listed. Once you’ve clicked on the experiment you want to view, you’ll see a graph that will give you a visual representation of your progress.
The application will also list any milestones achieved that are representative of how well you’re progressing towards your goals (see below).
Measuring progress is a fundamental aspect of personal development. It allows you to discover whether you’ve made two steps forward, two steps back, or at a complete standstill. But for any measurement system to be effective, it needs to be fast, accurate, and easily accessible.
Redis’ advanced data processing capabilities guaranteed a highly-responsive application where users were able to interact with it in real time without any lags, freezes, or delays. New metrics were saved on the RedisJSON store and were published through the RedisPubSub module with hyper-efficiency, providing users with a seamless application experience.
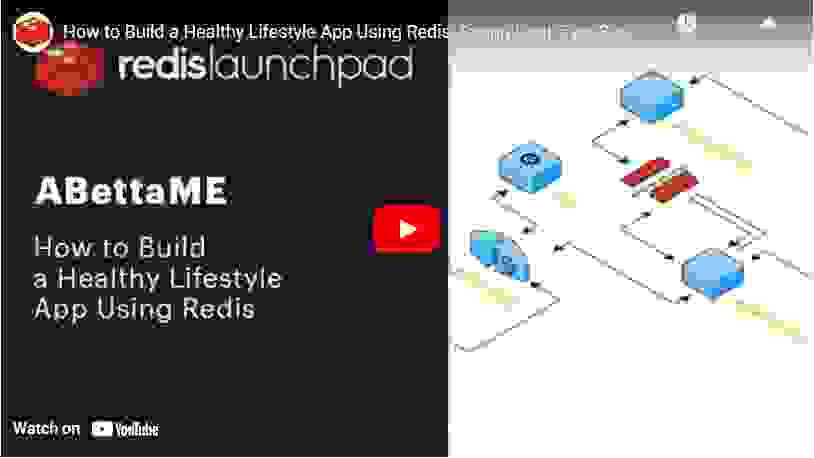
To discover more about how this application was made then make sure to watch this YouTube video here. And if you’ve enjoyed this post, then head on over to the Redis Launchpad where you’ll have access to many more exciting applications that are having an impact on everyday life.
We have real-time vehicle tracking systems, an app that accelerates the blood donation process, and much much more!
Head on over. Check it out. And have fun with Redis.

Antonis is an innovative software engineer who currently dedicates his expertise to Spotify. If you want to keep up to date with all of his projects then make sure to follow him on GitHub here.