

How to Build a Competitive Online Racing Game Using Unity and Redis
Learn more


Speed and efficiency are the hallmarks of excellence in today’s fast-paced business environment.
Organizations that are entangled in manual, rigid processes bear the weight of a cumbersome architecture and will forever be left flat-footed as business opportunities pass them by.
But those who have their processes automated will be more productive, more agile, and far more likely to experience growth. And that’s why organizations need a distributed business rules management system (DBRMS).
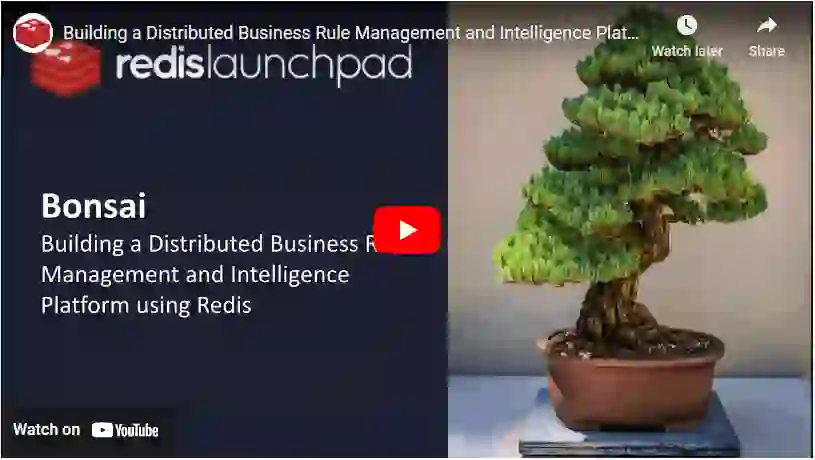
Looking to make an impact on the business community, Vishrut Kohli built his very own DBRMS, Bonsai. By using Redis, Bonsai guarantees users an application that can automate processes in real-time, maximizing productivity levels by reducing the likelihood of lags from occurring.
Let’s take a look at how this application was made. But before we go any further, we’d like to point out that we also have an exciting range of innovative apps for you to check out on the Redis Launchpad.
So if you enjoy this post, make sure to have a browse after!
You’ll build a distributed business rule management platform that will help businesses to create, manage and implement scalable business rules across the enterprise. Many business tasks can be automated and free up additional resources that could be invested elsewhere in the business.
This application will enable organizations to specify, deploy, and manage business decision rules and decision logic so that apps can consistently make intelligent decisions with speed and without human intervention.
Below we’ll highlight what components you’ll need to bring this application to life as well as walk you through each step of the implementation process.
Ready to get started?
OK, let’s get straight into it.

Ensure that you have Redis Stack database up and running:
docker run -d --name redis-stack -p 6379:6379 -p 8001:8001 redis/redis-stack:latest
This project was bootstrapped with Create React App.
git clone https://github.com/redis-developer/bonsai-frontend
yarn install
Runs the app in the development mode.
Open http://localhost:3000 to view it in the browser.

The page will reload if you make edits.
You’ll also see any lint errors in the console.
Launches the test runner in the interactive watch mode.
See the section about running tests for more information.
Builds the app for production to the build folder.
It correctly bundles React in production mode and optimizes the build for the best performance.
The build is minified and the filenames include the hashes.
Your app will now be ready to be deployed.
See the section about deployment for more information.
Note: this is a one-way operation. Once you eject, you can’t go back!
If you aren’t satisfied with the build tool and configuration choices, you can eject at any time. This command will remove the single build dependency from your project.
Instead, it will copy all of the configuration files and the transitive dependencies (webpack, Babel, ESLint, etc) right into your project so you have full control over them. All of the commands except eject will still work, but they will point to the copied scripts so you can tweak them. At this point, you’re on your own.
You don’t have to ever use eject. The curated feature set is suitable for small and middle deployments, and you shouldn’t feel obligated to use this feature. However, we understand that this tool wouldn’t be useful if you couldn’t customize it when you are ready for it.
git clone: https://github.com/redis-developer/bonsai
pip3 install -r requirements.txt
python3 manage.py runserver
Keywords
The most logical separation of rules is on the basis of namespace. Namespace is one set of rules which are to be evaluated on a set of data. For example, later in this post, you’ll build a namespace for a loyalty management system and all of the rules regarding that will be saved under that namespace.
{
 "tax_system": {}
}
Here namespace is: tax_system.
JSON.SET namespace_name . {}
An entity refers to the input of a namespace and will in turn provide an output after evaluating the rules present in that namespace.
Say for example we wanted to create a rule that determines the tax value of a citizen who lives in the province of Ontario and in the city of Toronto. In addition, this person pays 35% income tax. So we have two variables – province and city but one output tax_rate.
So in this case, one example predicate(input) of a province is Ontario can be a predicate consisting of 4 parts :
{
          "attribute_name": "Province", # the name of your input
          "operator": "eq", # type of operation
          "type": "string", # type of input such as INT or STRING
          "value": "Ontario" # value of the input you want to gove
 }
Each rule is a command which decides what should be the output to any particular input (entity). Every rule will get saved into a namespace via the following format: Ontario and the city is Toronto the tax rate will be 35.
This is the rule object:
{
"tax_system": {
  "123456": {
    "id": 123456,
    "namespace": "tax_system",
    "rule_description": "this is a test rule",
    "predicates": [
      {
        "attribute_name": "Province",
        "operator": "eq",
        "type": "string",
        "value": "Ontario"
      },
      {
        "attribute_name": "City",
        "operator": "eq",
        "type": "string",
        "value": "Toronto"
      }
    ],
    "result": {
      "attribute_name": "tax_rate",
      "operator": "eq",
      "type": "string",
      "value": "35"
    }
  }
}
}
Here namespace is: loyalty_system and rule_id is: 123456.
JSON.SET namespace_name .rule_id rule_object
JSON.GET namespace_name
JSON.GET namespace_name path .rule_id
On the home screen click ‘Create.’

Next, fill in the different fields to complete creating the rule.

After creating the rules, you’ll be able to easily visualize them in the form of a flowchart.

The evaluation flow contains all of the attributes that have been used to create the rules. The application has a code that uses pattern matching algorithms to see which rule best fits the entity as well as emitting the order in which rules are executed.

RedisTimeSeries allows you to visualize all of the metrics and help you to make data-driven decisions based on the performance of all the rules in their namespace.
TS.ADD ruleId * 1
DBRMS platforms can liberate employees and businesses from having to carry out time-consuming, tedious tasks that are essential to the organization. Automating these tasks via a DBRMS platform can completely revitalize an organization by directing each of its employees’’ attention towards less menial tasks.
However, for a DBRMS system to be effective, it needs to be powered by a real-time database to consistently guarantee an elite level of performance. A mere lag can stagnate process efficiency, thereby negatively impacting productivity.
Thanks to Redis, all business rules were able to be managed, updated, and maintained in real-time. This allows you to gain real-time insights on performance and make instant data-led decisions that will help you capitalize on business opportunities.
If you want to discover more about how Bonsai was created then make sure to watch Vishrut’s YouTube video here. But that’s not all… we also have a whole range of innovative applications for you to check out on the Redis Launchpad.
Programmers from all around the world are tapping into the magic of Redis to make an impact on everyday lives.
Head on over. Be inspired. And have fun with Redis.


Vishrut is a full-stack developer and data enthusiast who’s proficient in Python, MATLAB/octave, and machine learning algorithms. If you want to keep up to date with all of his projects then make sure to follow him on GitHub.