Learn how to control a WSL installation of the Redis database from the Windows command line.
If you like using Redis for website caching and you write and test code locally from Windows, you’ll want to figure out how to run a local instance of the Redis database.
You have a few options. You can run it from another computer that’s running MacOS or something vaguely Linux-like. You can run it from a Docker container under Windows. Or you can run it directly from Windows SubSystem (WSL) for Linux.
The process is what I figured out on my own, so accept this tutorial as “one techie’s experience.” There likely are other ways to accomplish this, but this works for me.
Windows (Windows 10, Windows 11, Windows Server 2019) has a compatibility layer that lets you run Linux binary executables. The current version is WSL 2, but I refer to it as WSL.
If you don’t have WSL installed already, run the following command from an elevated shell (as administrator):
wsl --install

This installs the bits that you need and then asks you to reboot your machine. (For more information about installing and configuring WSL, Microsoft has good documentation.)
Essentially, once you have WSL in place, getting Redis working is a normal Ubuntu deployment.
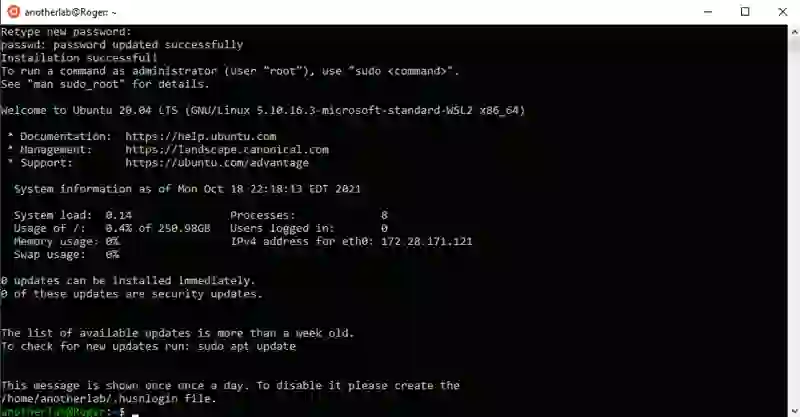
Ubuntu is the default Linux distribution for WSL. After you reboot, you may see a Ubuntu shell for a while as Windows does its installation. It churns for a little while, and then asks you for a username and password. That password will be your sudo (user root) password.
Once that is done, you should see something like this.
The next thing to do is to install the Redis database. Before we can install Redis via apt-get we need to update apt-get and remove some of the new install shininess.
sudo apt-get update
sudo apt-get upgrade
After that is finished, you can install the Redis database:
sudo apt-get install redis-server
There is some churn and finally, it is installed.
Redis does not run out of the box. For my own application testing, however, I need to test when Redis isn’t running. As a result, my personal preference is to only run Redis when I’m actively using it for development. So I Iike to start and stop it from the command line. Here are the commands that you need to know:
sudo service redis-server status
sudo service redis-server start
sudo service redis-server stop
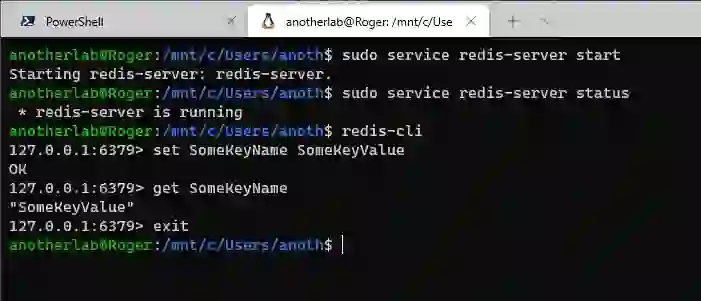
I start up redis with the service start command, and it comes back with a message that redis is starting. And you can use the service status command to verify that it’s running. The acid test is to connect to Redis and see if it’s working. You can use the redis-cli tool to set and get a cache value.
You should see something like this:
So now the Redis database is running. If you close your shell and open up a new one, Redis will still be running. If you restart WSL or Windows, then Redis won’t be running.
If it makes sense for your needs, you can use systemctl to enable it to start at boot.
You can always pop open an Ubuntu shell and start Redis, but you also can do it from a Windows command line:
wsl sudo service redis-server status
From the screenshot, you can see that WSL passed along the sudo service command to Ubuntu. Because I used sudo, I was prompted for the root password, and it returned the same message that I would see from the Ubuntu shell.
Since I only have Ubuntu installed, that was the default Linux that received the command. If you have multiple distributions installed, you would use wsl -d DistributionName. You can get the names of the installed distributions with the wsl -l command. Unlike from the Linux shell, each time I invoke sudo, I’m prompted for the password. In the Linux shell, you are prompted only the first time you call sudo in a terminal session.
The requirement to type in the root password over and over again can be tedious on a development system. There is a way around that annoyance. You can add a file to the /etc/sudoers.d folder in the Linux distribution and remove the root password requirement for the redis-server service. From the Linux shell, do the following:
cd /etc/sudoers.d
sudo sh
echo "%sudo ALL=(ALL) NOPASSWD: /usr/sbin/service redis-server *" >> allowed-services
sudo chmod 0440 allowed-services
exit
What did we just accomplish? With this set of commands, we make /etc/sudoers.d the current folder. You need root access to work with this folder; use sudo sh to gain root access. The echo line basically says that you can invoke sudo with no password for redis-server and it writes that setting to a file named allowed-services. The file name allowed-services is arbitrary; I picked it because it made sense to me. A file in the sudoers.d folder named README, explains the file name restrictions.
The chmod 0440 command sets the permissions to read-only for the root account and is required for sudoers.d. This allows us to remove the sudo password requirement for redis-server and only for redis-server.
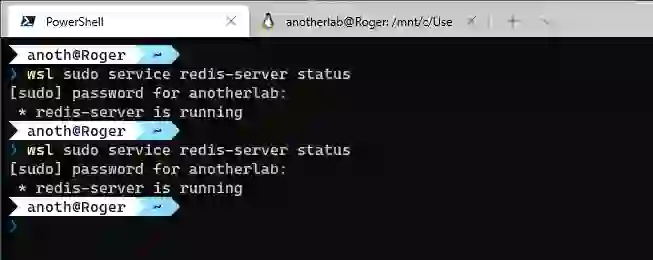
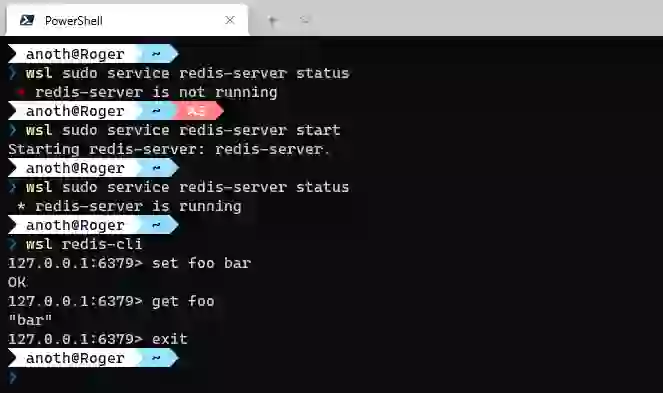
Now we can go back to the Windows shell and run the wsl commands without being prompted for a password.
You can even run the redis-cli tool from PowerShell:
The Windows Subsystem for Linux is one of the hidden gems for developers. And this gem sparkles.
Bonus round! Because I’m lazy, I created shortcuts in my PowerShell profile. I added the following functions:
# Check Redis status
function redstat {wsl sudo service redis-server status}
# Start the Redis service
function redstart {wsl sudo service redis-server start}
# Stop the Redis service
function redstop {wsl sudo service redis-server stop}
# Clear all of the data from the Redis database
function redclear {wsl redis-cli FLUSHALL}
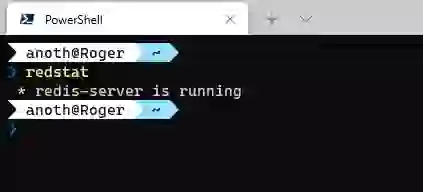
And now I can just check the redis-server status via redstat:
Another bonus round! If you want Redis to startup when Windows boots up, it is a couple of extra steps. You just need to create a batch file that starts up Redis.
In your Windows startup folder, create a batch file. Press Win+R and type shell:startup to l open up an instance of Windows Explorer in the user startup folder. Or use the command line with the following to place you into the same folder.
cd %APPDATA%\Microsoft\Windows\Start Menu\Programs\Startup
Create a batch file in that folder. I used start redis.cmd, but any file name that the OS recognizes as a batch file works. In that file, add the following line:
wsl sudo service redis-server start
The next time you boot the computer and then log in, Redis will start. Because the commands that are in the startup folder tend to get run later in the boot process, they may not be available for a minute after you log in to Windows.
Now that you have Redis installed and running, it’s time to learn how to use it. The Getting Started guide should be your first step.
A previous version of this article appeared on Chris Miller’s blog.